When you’re browsing online, privacy is more important than ever. A major threat to your anonymity is a DNS leak. Even if you use a VPN, your real location and browsing habits can be exposed if your DNS requests are leaking. This can lead to tracking by your internet service provider, malicious actors, or government surveillance. Understanding how DNS leaks happen and how to prevent them is essential for maintaining your online security.
DNS leaks can expose your browsing activity even when using a VPN. Preventing them requires choosing the right VPN with leak protection, configuring your device properly, and testing regularly to ensure your privacy remains intact.
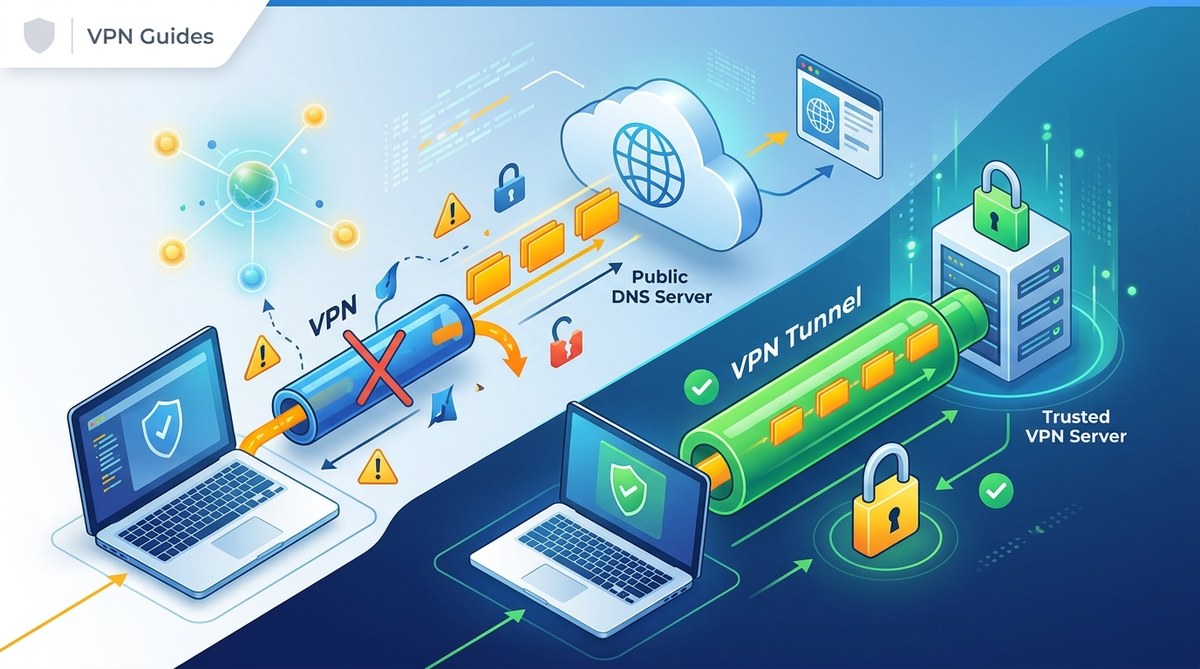
What Are DNS Leaks and Why They Matter
The Domain Name System, or DNS, is like the internet’s phonebook. When you type a website like “amazon.com,” DNS translates that into an IP address your device can connect to. Usually, your internet provider handles DNS requests unless you change the settings. When using a VPN, your goal is to route all traffic through a secure tunnel, hiding your activities from outsiders.
However, sometimes your DNS requests bypass the VPN tunnel. This is called a DNS leak. When leaks happen, your ISP or other third parties can see which websites you visit, even if your IP address is masked. This defeats the purpose of using a VPN for privacy and can compromise your online security.
Experts stress that DNS leaks are a silent threat. They can happen without your knowledge, making it crucial to understand how to detect and prevent them effectively.
How Do DNS Leaks Occur?
Understanding the common causes helps you stay protected:
- Misconfigured VPN Settings: Not all VPNs automatically protect against DNS leaks. If your VPN client isn’t configured properly, DNS requests may go through your ISP.
- IPv6 Traffic: Many devices and networks support IPv6. If your VPN doesn’t handle IPv6 correctly, leaks can occur through this protocol.
- Transparent DNS Proxies: Some networks use transparent proxies that intercept DNS requests, leading to leaks.
- Insecure Network Settings: Using public Wi-Fi or poorly configured routers can expose DNS requests outside the VPN tunnel.
- Operating System Flaws: Certain OS features might send DNS requests directly, sidestepping the VPN.
Knowing these causes allows you to take targeted steps to prevent leaks.
How To Detect DNS Leaks
Regular testing is vital. Here’s how you can check if your DNS requests are leaking:
- Use Online DNS Leak Tests: Services like dnsleaktest.com offer quick tests. Run the standard or extended test while connected to your VPN.
- Check Your DNS Settings: On Windows, go to Command Prompt and type
ipconfig /all. Look for DNS servers assigned by your VPN provider. - Review Network Configurations: On macOS, navigate to Network Preferences and verify the DNS servers listed.
- Run Multiple Tests: Conduct tests at different times and network environments to ensure consistent protection.
- Use VPN Leak Detection Tools: Some VPN providers offer built-in leak tests or dedicated apps for this purpose.
If any test shows your ISP’s DNS servers or other unexpected addresses, your DNS is leaking.
Practical Steps to Prevent DNS Leaks
Protecting your privacy involves a combination of proper setup and ongoing vigilance. Follow these steps:
1. Select a VPN with Built-in DNS Leak Protection
Choose a VPN service that offers DNS leak prevention features. For reliable privacy, look for providers that explicitly state they protect against leaks and have a proven track record.
2. Configure Your Device Properly
- Disable IPv6: If your VPN doesn’t handle IPv6, turning it off can prevent leaks. On Windows, disable IPv6 in network adapter settings. On macOS, do the same in Network preferences.
- Use Custom DNS Servers: Set your device to use DNS servers provided by your VPN or trusted third-party services like Cloudflare or Google DNS.
- Enable DNS Leak Protection: Many VPN clients have a setting for DNS leak prevention. Turn it on.
3. Use Firewall Rules and Additional Security Measures
- Configure Firewall Settings: Block DNS requests outside the VPN tunnel.
- Set Up a Kill Switch: This feature disconnects your internet if the VPN drops, preventing leaks during reconnection issues.
4. Regularly Test and Update Settings
- Run DNS leak tests monthly.
- Keep your VPN app updated.
- Review your device’s network settings after OS updates.
5. Advanced Techniques for Enhanced Security
For tech-savvy users, setting up a personal DNS server or using a proxy can add layers of protection. For example, configuring your router to force all DNS traffic through a trusted server ensures leaks are minimized.
| Technique | Benefit | Common Mistake |
|---|---|---|
| Using VPN with leak protection | Ensures DNS requests stay within VPN tunnel | Forgetting to enable the feature in settings |
| Disabling IPv6 | Prevents leaks via IPv6 protocols | Not re-enabling IPv6 after troubleshooting |
| Custom DNS configuration | Controls which DNS servers you use | Not testing after changes |
| Running leak tests regularly | Detects leaks early | Ignoring test results or assuming VPN is enough |
How To Fix a DNS Leak When It Happens
If tests reveal your DNS is leaking, take these actions:
- Switch to a VPN with strong leak protection immediately.
- Disable IPv6 on your device if your VPN doesn’t support it.
- Change DNS settings to trusted servers.
- Activate or reconfigure the VPN’s kill switch feature.
- Run another leak test to confirm the fix.
Sometimes, leaks are caused by outdated VPN clients or system settings. Updating your VPN app or OS can resolve underlying issues.
Common Mistakes That Leave You Vulnerable
| Mistake | Consequence | How to Avoid |
|---|---|---|
| Not testing regularly | Undetected leaks over time | Schedule routine checks |
| Using free VPNs | Many lack proper leak protection | Opt for reputable paid services |
| Ignoring IPv6 | Leaks through IPv6 can go unnoticed | Disable IPv6 if unsupported |
| Default DNS settings | Relying on ISP DNS | Switch to secure, trusted DNS providers |
| Forgetting to enable leak protection | VPN connected but leaks still occur | Check settings before browsing |
Additional Resources To Stay Secure
- Use dnsleaktest.com for quick leak checks.
- Consider privacy-focused DNS services like Cloudflare or Google DNS.
- Keep VPN clients updated and review their privacy policies regularly.
- Use a comprehensive firewall to block DNS requests outside VPN tunnel.
“A proactive approach is best. Regular testing, careful configuration, and choosing the right tools can keep your browsing private in 2026.”
Why Vigilance Keeps You Protected
Maintaining online privacy in a connected world involves more than just installing a VPN. It requires understanding potential vulnerabilities like DNS leaks and addressing them head-on. By selecting a VPN with proper leak protection, configuring your device correctly, and performing routine tests, you can stay ahead of privacy threats. Remember, technology evolves, and so should your security practices. Make DNS leak prevention a regular part of your online routine, and enjoy safer, more private browsing every day.