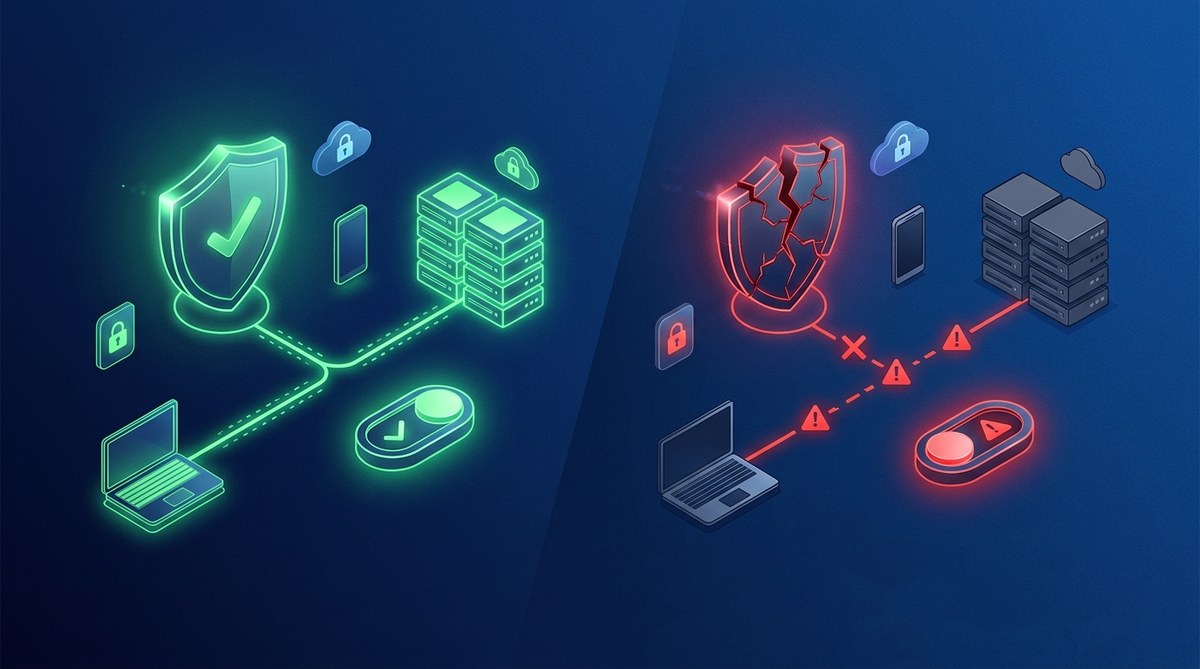
Using a VPN provides a powerful way to safeguard your online privacy. It encrypts your internet traffic and masks your IP address. But even the best VPNs can sometimes disconnect unexpectedly. When that happens, your real IP and data could be exposed unless you have a safety mechanism in place. That’s where a VPN kill switch becomes vital.
A VPN kill switch automatically blocks internet access if your VPN connection drops, preventing data leaks and protecting your privacy. Understanding and enabling it is essential for secure browsing.
What exactly does a VPN kill switch do?
A VPN kill switch acts as a safety feature that monitors your VPN connection. If it detects that the VPN drops unexpectedly, it immediately cuts off your device’s internet access. This prevents your real IP address, location, or sensitive data from leaking outside the VPN tunnel.
Think of it as a safeguard that ensures you never accidentally browse without protection. If you forget to reconnect the VPN after a dropout, the kill switch steps in to keep your identity hidden.
Types of VPN kill switches and how they work
There are mainly two kinds of kill switches: system-level and application-level.
System-level kill switch
This type controls all internet traffic on your device. It blocks any data transfer when the VPN disconnects. This is the most comprehensive form of protection. It’s like turning off the entire internet connection until your VPN reconnects.
Application-level kill switch
Here, only specific apps or services are protected. For example, your web browser or messaging app. If the VPN drops, only these apps are blocked from sending or receiving data. This is useful if you want to maintain internet access for other programs.
Why a kill switch is a must for privacy-conscious users
- Prevent IP leaks: Without a kill switch, your real IP can be exposed if the VPN disconnects suddenly.
- Avoid data exposure: Sensitive information or login credentials could leak during a disconnect.
- Maintain anonymity: Especially important when using privacy tools for activism, journalism, or bypassing censorship.
- High-risk scenarios: Public Wi-Fi, country-specific restrictions, or sensitive work make a kill switch critical.
“A VPN without a kill switch is like a car with a seatbelt that doesn’t lock. It might protect you sometimes, but not always.” — cybersecurity expert
How to turn on a VPN kill switch in 3 simple steps
- Choose a VPN provider that offers a kill switch feature. Most premium VPNs include this as a standard option.
- Access the VPN app or settings menu. Look for a section labeled ‘kill switch,’ ‘network lock,’ or ‘auto disconnect.’
- Enable the kill switch. Toggle it on and save your settings.
Some providers also allow you to customize how the kill switch behaves or which apps it monitors.
How to properly configure a kill switch for maximum protection
While enabling the kill switch is straightforward, proper setup ensures it works as intended:
- Test it after setup. Disconnect your VPN manually to see if the internet is blocked.
- Use on all devices. Enable the feature on every device you use for sensitive browsing.
- Combine with other features. Use split tunneling cautiously, as it might bypass the kill switch if not configured correctly.
- Keep your VPN software updated. Developers regularly improve the kill switch feature for better reliability.
Common mistakes to avoid
| Mistake | Explanation | How to fix it |
|---|---|---|
| Forgetting to test | Many assume it works without checking | Regularly test by disconnecting VPN |
| Not enabling it on all apps | Only some apps are protected | Enable for all relevant applications |
| Using outdated VPN software | Bugs may interfere with the kill switch | Keep software current |
| Misconfiguring split tunneling | Might bypass the kill switch | Disable split tunneling when using a kill switch |
How to verify your kill switch is active
Testing your setup helps confirm it functions correctly:
- Manual disconnect test: Turn off VPN and see if your internet access halts.
- Leak tests: Use online tools to check IP or DNS leaks during simulated disconnects.
- Scenario testing: Put your device to sleep or switch networks and observe if the kill switch triggers.
“Always verify your kill switch after setup. A false sense of security can lead to leaks.” — privacy advocate
Limitations and considerations
Not all VPNs have a reliable kill switch. Some free providers might omit this feature or implement it poorly. Relying solely on a kill switch also isn’t enough if your VPN has other vulnerabilities. It’s best to combine it with good security practices, like using strong encryption and secure protocols.
| Technique | Mistake | Best Practice |
|---|---|---|
| Relying only on kill switch | Overconfidence in feature | Use with other security measures |
| Ignoring updates | Outdated software bugs | Keep VPN app updated |
| Not testing regularly | False security | Test periodically |
Practical tips for using a kill switch responsibly
- always activate the kill switch before browsing sensitive sites
- test it after updates or changes in your VPN configuration
- disable split tunneling if privacy is a priority
- consider using a wired connection for higher stability during critical tasks
- read your VPN’s documentation for specific instructions on enabling and testing
Wrapping up your privacy toolkit
A VPN kill switch acts as a guardian, preventing accidental exposure of your data when your connection drops. It’s a simple yet powerful feature that complements the encryption and anonymity a VPN provides. Setting it up correctly and testing it regularly ensures your online presence stays protected.
By understanding how your VPN’s kill switch works and applying best practices, you can browse more confidently. In the end, it’s about building habits that prioritize your privacy. Take the time to configure and test your kill switch, and enjoy a safer online experience every day.