Setting up a reliable VPN on your pfSense router can significantly boost your network security and enable safe remote access. OpenVPN remains one of the most flexible and secure VPN solutions, especially when configured correctly on pfSense. This guide walks you through the entire process, from initial preparations to fine-tuning your setup. By the end, you’ll have a robust OpenVPN server that keeps your data protected and your remote connections seamless.
[A well-configured OpenVPN server on pfSense provides secure remote access, enhances network privacy, and is customizable for different security needs. Following step-by-step setup ensures a reliable, encrypted connection for home or business use.](https://en.wikipedia.org/wiki/Virtual_private_network)
Preparing for your OpenVPN setup on pfSense
Before diving into configuration, ensure your pfSense environment is ready. You need a working pfSense installation with administrative access and a static IP address or dynamic DNS setup to access your network remotely. It’s also wise to back up your current configuration in case you need to revert.
- Check that pfSense is up to date to avoid compatibility issues.
- Verify that your network has a dedicated interface for VPN traffic.
- Prepare or generate SSL certificates and keys, or plan to create them during setup.
- Decide on the VPN subnet to allocate for your clients to avoid IP conflicts.
Step-by-step guide to install and configure OpenVPN on pfSense
Follow these steps carefully to establish a secure VPN connection:
1. Create a certificate authority and server certificate
Begin by generating the cryptographic credentials that authenticate your VPN server and clients.
- Navigate to System > Cert. Manager.
- Select the CAs tab and click Add to create a new certificate authority.
- Fill in relevant details like name and country.
- After creating the CA, go to Certificates tab to generate a server certificate.
- Choose the newly created CA during this process.
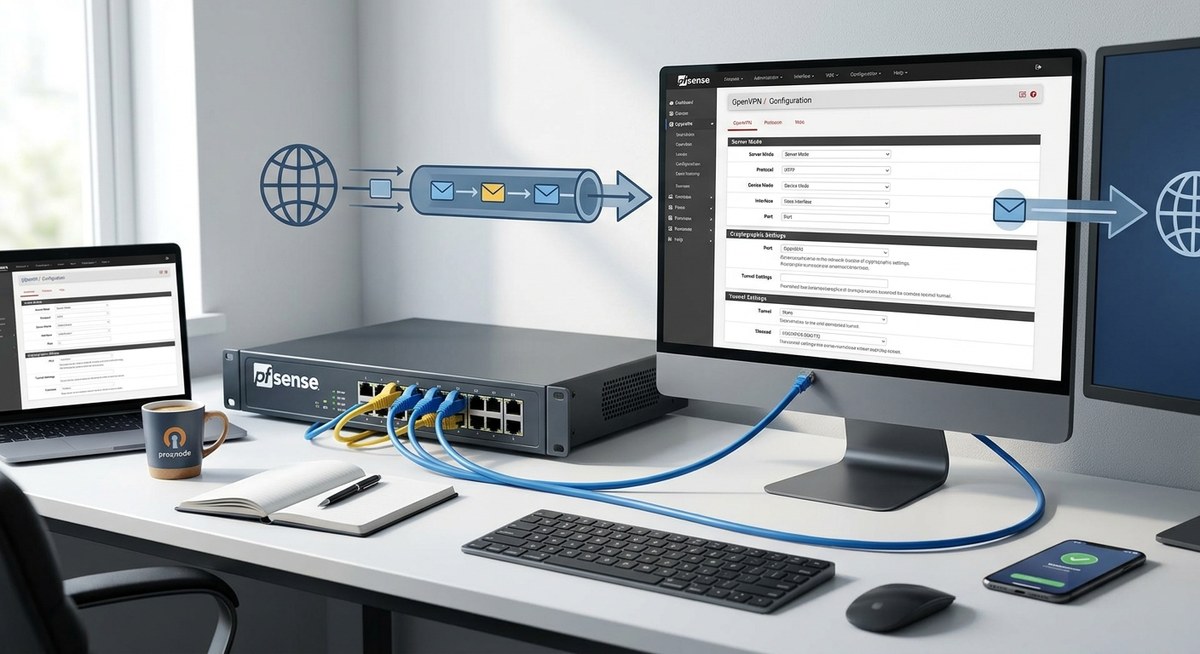
2. Configure the OpenVPN server
Once you have your certificates, set up the server.
- Go to VPN > OpenVPN and click Add.
- Select Local User Access or Remote Access depending on your needs.
- Choose the server certificate you previously created.
- Set the Protocol (UDP or TCP), with UDP often preferred for speed.
- Define the Interface (generally WAN).
- Specify the Tunnel Network, such as 10.8.0.0/24.
- Enable Redirect Gateway to send all client traffic through the VPN.
- Adjust other settings like DNS servers and compression according to your preferences.
- Save the configuration.
3. Create user accounts and assign client certificates
Each user or device connecting remotely needs a unique certificate for authentication.
- Navigate to System > User Manager.
- Add new users with a secure password.
- Assign each user a certificate under Certificates.
- Export client configuration files later for easy setup.
4. Configure firewall rules
Allow VPN traffic through your firewall.
- Go to Firewall > Rules.
- Add a rule on the WAN interface allowing UDP or TCP traffic to your OpenVPN server port.
- Create a rule on the OpenVPN interface to permit incoming VPN traffic.
- Ensure the rules are enabled and ordered correctly.
5. Set up NAT rules for VPN clients
Ensure clients can access internal network resources.
- Navigate to Firewall > NAT.
- Add a NAT outbound rule if using manual NAT.
- Map the VPN subnet to your internal network.
6. Install and configure the OpenVPN client export utility
Simplify client setup by exporting configuration files.
- Go to System > Package Manager.
- Install the OpenVPN Client Export Utility.
- Once installed, access VPN > OpenVPN > Client Export.
- Export the client profiles compatible with your devices.
7. Connect to your VPN
Use the exported configuration files with OpenVPN clients on your devices.
- Import the profile into your VPN client.
- Connect and verify that your traffic is encrypted.
- Test access to internal resources and external sites.
Common pitfalls and how to avoid them
| Technique | Mistake | How to avoid it |
|---|---|---|
| Proper certificate management | Reusing certificates | Generate unique certificates for each user or device to prevent security breaches. |
| Firewall rules | Incorrect rule placement | Ensure rules are in the correct order and allow the right ports. |
| DNS configuration | DNS leaks | Use DNS servers inside your network and enable DNS leak protection. |
| NAT settings | Misconfigured NAT | Confirm NAT rules correctly translate VPN subnet traffic. |
For optimal security, keep your pfSense and OpenVPN packages updated. Regularly review your certificates and user access to prevent unauthorized connections.
Enhancing your VPN security and reliability
After initial setup, consider these improvements:
- Enable TLS Authentication for added security.
- Use Split Tunneling to control which traffic goes through the VPN.
- Configure Auto Reconnect features to maintain persistent connections.
- Regularly rotate certificates and update user credentials.
Final thoughts on maintaining your OpenVPN on pfSense
Setting up OpenVPN on pfSense might seem complex initially but following a structured approach leads to a dependable, secure remote access solution. Always test your configuration thoroughly before deploying it widely. Keep your system updated and monitor your VPN logs for unusual activity. With a little effort, your network will enjoy enhanced security and flexibility for remote work or private browsing.
Empower your network with a solid VPN foundation
A well-configured OpenVPN server on pfSense boosts your privacy and ensures that your data remains encrypted during remote access. Take the time to understand each step, adapt settings to your specific needs, and regularly review your setup. With these practices, you’ll maintain a secure network environment that adapts as your needs evolve.