 By carl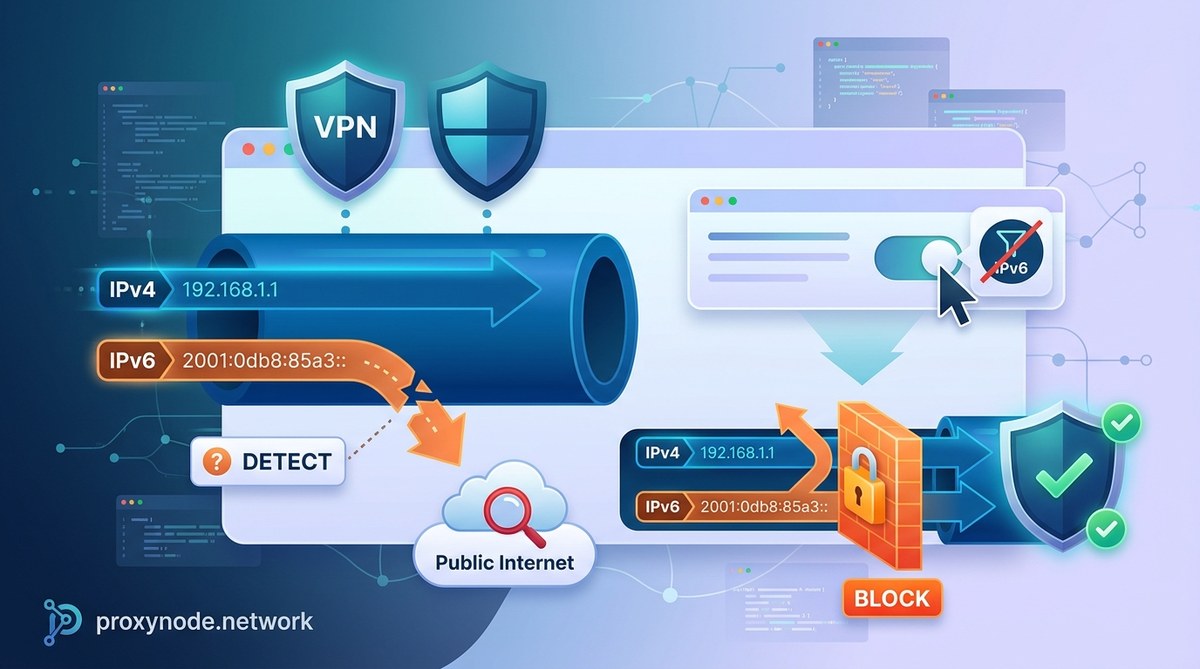
You pay for a VPN to hide your real IP address. You connect, check a site like whatismyip.com, and see the VPN server’s location. Looks good. But there is a gap many people miss. Your internet traffic might be bypassing the VPN tunnel entirely using a different protocol. This is called an IPv6 leak, and it can expose your real location and identity without you noticing.
Most VPNs only secure your IPv4 traffic by default. If your operating system prefers IPv6 (and modern Windows, macOS, and Linux do), your data can leave the encrypted tunnel and travel over your real IPv6 address. The VPN is still connected, but your privacy is gone.
An IPv6 leak happens when your VPN fails to route IPv6 traffic through its tunnel, exposing your true IP address. You can detect it using online leak test tools while connected to your VPN. To block it, disable IPv6 in your system settings, use a VPN that supports IPv6, or configure firewall rules. Testing takes less than two minutes and could save your privacy.
What Causes an IPv6 Leak in a VPN?
The problem is simple. Your VPN provider built their service to handle IPv4 addresses, which are still the most common. But your computer, phone, and router also support IPv6. When your device tries to reach a website that supports IPv6, it may send that request outside the VPN tunnel because the tunnel only knows how to handle IPv4 traffic.
Think of it like this. You lock your front door (the VPN), but you leave a side window open (IPv6). A visitor can still walk right in. Your ISP or any website that requests your IPv6 address will see your real location, not the VPN server.
There are three common causes:
- The VPN provider does not support IPv6 at all.
- The VPN client does not block IPv6 traffic on your device.
- Your operating system is configured to prefer IPv6 over IPv4.
How to Test for an IPv6 Leak
You need to run a leak test while connected to your VPN. This is the only way to know for sure if your real address is exposed. Follow these steps:
- Disconnect from your VPN. Visit a site like test-ipv6.com or ipleak.net. Write down your real IPv6 address. This is your baseline.
- Connect to your VPN. Use your normal server location.
- Run the same test again. Go to test-ipv6.com or ipleak.net while the VPN is active.
- Compare the results.
If the test shows your real IPv6 address instead of the VPN server’s address, you have a leak. If the test says “No IPv6 address detected,” your system is either not using IPv6 or the VPN is blocking it correctly.
Some websites also show both your IPv4 and IPv6 addresses side by side. If you see two different locations, that is a red flag.
Leak Testing Tools
| Tool | What It Checks | Best For |
|---|---|---|
| test-ipv6.com | IPv6 connectivity and address | General users |
| ipleak.net | IPv4 and IPv6 side by side | Quick comparison |
| whatismyipaddress.com | IPv6 address only | Simple check |
| browserleaks.com | WebRTC and IPv6 combined | Advanced users |
How to Block an IPv6 Leak
Once you confirm a leak, you have several options. The right one depends on your operating system and how much control you want.
Disable IPv6 at the System Level
This is the most reliable method. If your VPN does not support IPv6, turning it off at the OS level forces all traffic through the IPv4 tunnel.
On Windows 10 and 11:
– Go to Settings > Network & Internet > Status.
– Click “Change your network settings” and select “Network and Sharing Center.”
– Click your active connection, then “Properties.”
– Uncheck “Internet Protocol Version 6 (TCP/IPv6).”
– Click OK and restart your connection.
On macOS:
– Open System Preferences > Network.
– Select your active connection and click “Advanced.”
– Go to the TCP/IP tab and change “IPv6 Configuration” to “Off.”
– Apply the changes.
On Linux (Ubuntu/Debian):
– Edit the sysctl configuration file: sudo nano /etc/sysctl.conf
– Add these lines:
net.ipv6.conf.all.disable=1
net.ipv6.conf.default.disable=1
net.ipv6.conf.lo.disable=1
- Save the file and run
sudo sysctl -p.
Use a VPN That Supports IPv6
Some VPN providers now offer full IPv6 support. This means your traffic stays encrypted inside the tunnel, and your real IPv6 address is never exposed. If you are shopping for a new provider, check their documentation for IPv6 compatibility. A provider that routes both IPv4 and IPv6 traffic is your best bet.
Configure a Firewall Rule
If you want to keep IPv6 enabled for local network use but block it from reaching the internet, a firewall rule can help.
On Windows using the built-in firewall:
– Open Control Panel > System and Security > Windows Defender Firewall.
– Click “Advanced Settings.”
– Create a new outbound rule that blocks all IPv6 traffic.
– Apply the rule to your VPN network adapter.
On Linux using iptables:
– Run this command: sudo ip6tables -A OUTPUT -j DROP
– This blocks all outgoing IPv6 traffic. Use it carefully.
Expert advice from a network engineer: “Disabling IPv6 at the system level is the simplest fix for most users. But if you need IPv6 for local devices like printers or smart home hubs, use a firewall rule instead. That way you keep local functionality without leaking your public address.”
Common Mistakes to Avoid
Even experienced users make these errors. Watch out for them.
- Testing only IPv4. You might check your IP on a site that only shows IPv4. You feel safe, but your IPv6 address is still exposed.
- Forgetting to test after every update. A Windows or macOS update can re-enable IPv6 without warning. Run a leak test after any major OS update.
- Using a VPN that advertises “IPv6 leak protection” without verifying it. Some providers claim support but only route IPv6 through a different server, which still exposes your real address if the configuration is wrong.
- Disabling IPv6 on the router but not on the device. Your router may block IPv6, but your computer might still try to use it over a different adapter.
Why Your VPN Might Still Expose Your Location Through IPv6 Leaks
This is a common frustration. You follow all the steps, but the leak persists. The problem might be your browser. WebRTC (Web Real-Time Communication) can bypass your VPN and reveal your real IP address, including IPv6. This is a separate issue but often gets lumped together with IPv6 leaks.
If you have disabled IPv6 at the system level and you still see your real address in a leak test, try a different browser or disable WebRTC in your browser settings. Some privacy-focused browsers like Firefox let you turn off WebRTC in the advanced settings.
For a deeper look at this, read our guide on how to detect and fix WebRTC leaks to protect your privacy.
A Quick Reference Table for Fixing IPv6 Leaks
| Method | Difficulty | Effectiveness | Best For |
|---|---|---|---|
| Disable IPv6 in OS settings | Easy | Very high | Most users |
| Use a VPN with IPv6 support | Medium | High | Power users |
| Firewall rules | Hard | Very high | Network admins |
| Browser WebRTC block | Easy | Medium | Casual browsing |
Taking Control of Your VPN Privacy
An IPv6 leak is one of the most common ways a VPN fails to protect you. The good news is that detecting it takes less than two minutes, and blocking it takes another five. You do not need to be a network engineer to fix this.
Start by running a leak test right now while your VPN is connected. If you see your real address, pick one of the methods above and apply it. Test again to confirm the fix worked. Repeat this process after every OS update or VPN client update.
Your privacy depends on the details. This one is worth your time.