 By carl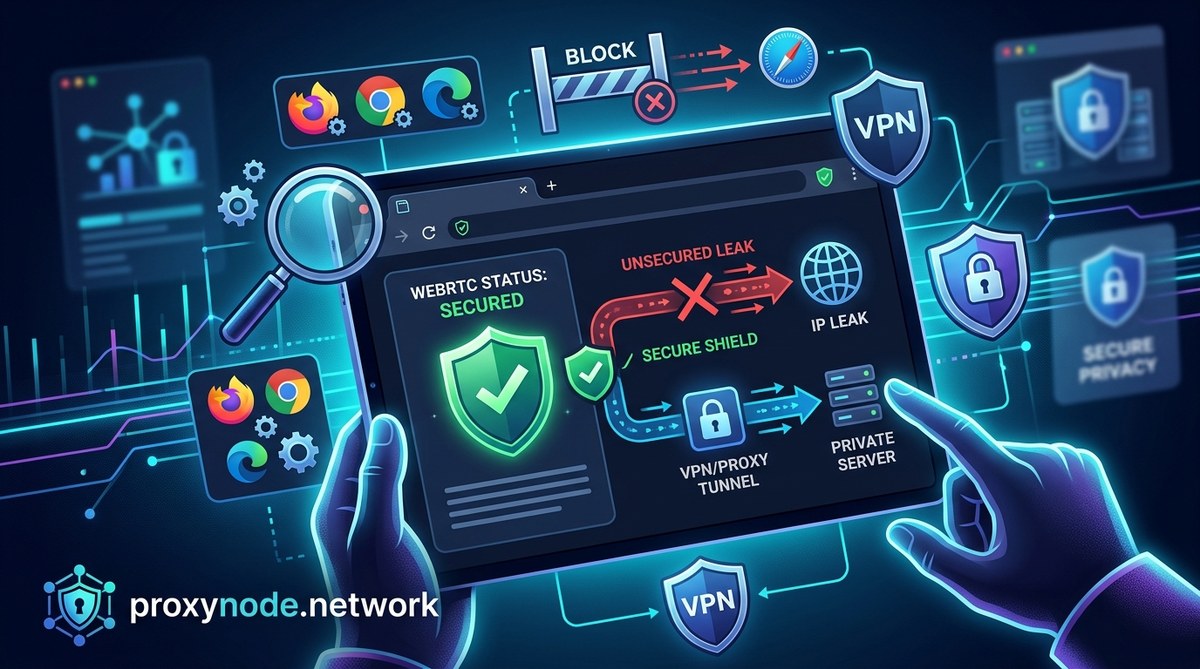
You pay for a VPN or proxy to hide your real IP address. You check the connection status. The little icon says you are protected. But there is a quiet vulnerability in almost every modern browser that can shout your true location to any website you visit. It is called WebRTC, and it does not care what your VPN says.
WebRTC stands for Web Real-Time Communication. It is the technology that lets you do video calls inside a browser tab without installing extra software. Zoom on the web, Google Meet, and many chat tools rely on it. The feature needs to know your real IP address so it can connect directly to another user. That is fine for a video call. It is a disaster for your privacy.
The problem is that WebRTC can bypass your VPN or proxy tunnel. When a website asks for your IP through WebRTC, your browser hands over the real address that your ISP assigned to you. Your VPN might be running perfectly. Your proxy might be configured correctly. But WebRTC leaks your IP anyway. That is why every privacy-conscious internet user needs to run a WebRTC leak test right now.
WebRTC leaks expose your real IP address even when a VPN or proxy is active, because the browser bypasses the encrypted tunnel for real-time communication features. Running a simple WebRTC leak test reveals if your browser is vulnerable. You can block leaks using browser extensions, disabling WebRTC in settings, or switching to a privacy-focused browser like Brave. No privacy setup is complete without checking for this specific vulnerability.
What a WebRTC Leak Test Actually Shows You
When you run a WebRTC leak test, the test page asks your browser to report every IP address it can find through the WebRTC framework. If your setup is secure, the test should show only the IP address of your VPN server or your proxy. If your setup is broken, the test will reveal your home IP or your office IP alongside the VPN address.
This is not a theoretical risk. Websites can run this test silently in the background using a few lines of JavaScript. You would never know it happened. Ad networks, trackers, and malicious actors can harvest your real IP without your permission. Your VPN provider cannot stop this because the leak happens inside your browser, before traffic even reaches the VPN tunnel.
Expert advice: A WebRTC leak is not a failure of your VPN. It is a failure of your browser configuration. You can have the best VPN on the market and still leak your IP through WebRTC. The fix is always at the browser level.
How to Run a WebRTC Leak Test in Any Browser
You do not need to install any software. You just need to visit a test page and read the results. Here is the step-by-step process:
- Disconnect any proxy or VPN temporarily. This sounds backward, but you need to see what your real IP looks like first. Visit a site like whatismyip.com and write down your actual IP address.
- Reconnect your VPN or proxy. Make sure you are connected to the server you normally use.
- Open a new browser tab. Do not reuse the old tab. Old tabs can cache network information.
- Visit a WebRTC leak test site. There are several free options. The most popular one is browserleaks.com/webrtc. Another good choice is ipleak.net.
- Look at the results. The test page will display a list of IP addresses. If you see your real IP from step 1 anywhere in that list, you have a leak.
The test usually takes less than five seconds. If you see multiple IP addresses and one of them matches your real home or office IP, your browser is exposing you.
Common Mistakes People Make During a WebRTC Leak Test
| Mistake | Why It Happens | What to Do Instead |
|---|---|---|
| Testing while disconnected from VPN | The user forgets to reconnect before visiting the test page | Always reconnect your VPN first, then open a fresh tab |
| Using the same tab after connecting | The browser caches the old network information | Close all tabs and open a new browser window |
| Ignoring IPv6 addresses | Many VPNs do not block IPv6 traffic, so WebRTC leaks through IPv6 | Check both IPv4 and IPv6 sections in the test results |
| Testing only one browser | Different browsers handle WebRTC differently | Test every browser you use regularly |
| Relying on a single test site | Some test sites are blocked by ad blockers or extensions | Use at least two different test pages to confirm |
How to Block WebRTC Leaks in Chrome, Firefox, and Brave
Each browser handles WebRTC differently. Here is how to lock it down in the three most popular options.
Blocking WebRTC in Google Chrome
Chrome does not have a built-in toggle to disable WebRTC completely. You need an extension. The most trusted option is called WebRTC Leak Prevent. It is available in the Chrome Web Store.
- Install WebRTC Leak Prevent from the Chrome Web Store.
- Click the extension icon in your toolbar.
- Select “Disable non-proxied UDP.” This setting forces WebRTC to use only proxy connections.
- For maximum protection, choose “Disable WebRTC” entirely. Just know that this will break browser-based video calls.
After installing the extension, run your WebRTC leak test again. Your real IP should no longer appear.
Blocking WebRTC in Mozilla Firefox
Firefox gives you more control without needing an extension. You can disable WebRTC directly in the configuration settings.
- Type
about:configinto your address bar and press Enter. - Accept the risk warning.
- Search for
media.peerconnection.enabled. - Double-click the entry to change its value from
truetofalse.
That is it. Firefox will now block all WebRTC requests. Video calls in the browser will stop working, so you can toggle this back on when you need to join a meeting.
WebRTC Protection in Brave Browser
Brave is built with privacy in mind. It blocks WebRTC leaks by default. But you should still verify.
- Click the Brave menu (three lines in the top right corner).
- Go to Settings.
- Click Shields in the left sidebar.
- Under Privacy, look for “Block WebRTC IP addresses.”
- Make sure it is set to “Block all IP address discovery.”
Brave also has a fingerprinting protection mode that further obscures your real IP. If you use Brave, you are already ahead of the game, but running a test is still a good habit.
What to Do If You Still See a Leak After Taking These Steps
Sometimes the standard fixes do not work. Here are the most common reasons why and what to do about them.
Your VPN does not support IPv6. Many VPN providers only protect IPv4 traffic. If your ISP gives you an IPv6 address, WebRTC can use that to bypass your VPN. The fix is to disable IPv6 in your operating system network settings. This is safe for almost all home users.
You are using a browser that does not respect the extension. Some Chromium-based browsers like Edge or Opera have their own WebRTC handling. You may need to install a separate extension for each browser.
Your proxy is a SOCKS5 proxy without UDP support. WebRTC often uses UDP for connections. If your proxy only handles TCP traffic, WebRTC can still leak. You might want to read our guide on how to set up a SOCKS5 proxy to make sure you configure it correctly.
You are using a free VPN or proxy. Free services often lack the infrastructure to block WebRTC leaks. They may not even advertise that they protect against this vulnerability. If you are using a free tool, check our article on why free proxies are dangerous to understand the broader risks.
Why Your VPN Alone Cannot Stop WebRTC Leaks
This is the part that surprises most people. Your VPN creates an encrypted tunnel between your device and the VPN server. All your internet traffic is supposed to go through that tunnel. But WebRTC is designed to find the most direct route for real-time data. It intentionally looks for your local IP address so it can establish peer-to-peer connections.
When WebRTC asks your operating system for network interfaces, it gets a list that includes both your VPN interface and your physical network interface. The browser then reports both IPs to the website. Your VPN tunnel is active, but the browser hands out your real address anyway.
This is why running a WebRTC leak test is not a one-time task. You should test every time you change browsers, update your browser, or switch to a new VPN provider. Browser updates can sometimes reset your privacy settings.
A Quick Checklist for Ongoing Protection
- Test each browser you use at least once a month.
- Test immediately after a browser update.
- Test when you switch to a new VPN or proxy service.
- Test on every device, including your phone.
- Use a dedicated extension or built-in setting for each browser.
If you want to go deeper into browser privacy, our guide on browser fingerprinting explained covers the other ways websites identify you beyond your IP address.
Staying Ahead of WebRTC Leaks in 2026
Browser technology changes fast. In 2026, some browsers have started to limit WebRTC by default, but others still prioritize functionality over privacy. Chrome, for example, still requires a third-party extension. Firefox still requires a config toggle. Brave remains the only major browser that blocks WebRTC leaks out of the box.
The best approach is to assume you are leaking until you prove otherwise. Run your WebRTC leak test, apply the fix for your specific browser, and then test again. Make this part of your routine whenever you set up a new device or update your browser.
Your privacy setup is only as strong as its weakest link. WebRTC is often that weak link, hidden in plain sight. Now you know how to find it and how to shut it down. Take five minutes today to run the test. Your real IP address should stay yours and yours alone.