
You click connect on your VPN. The status changes to “Connected.” Everything looks perfect. But when you try to load a website, nothing happens. Your browser spins endlessly, apps refuse to load, and you’re stuck in digital limbo. This frustrating scenario affects thousands of VPN users every day, and the good news is that most cases can be fixed in minutes with the right approach.
When your VPN connects but blocks internet access, the issue usually stems from DNS conflicts, incorrect routing, or firewall interference. Restart your VPN connection first, then switch DNS servers to 8.8.8.8 or 1.1.1.1. If that fails, disable IPv6, flush your DNS cache, or temporarily turn off your firewall. These steps resolve most connection problems within five minutes without requiring technical expertise or contacting support.
Why Your VPN Connects But Blocks Internet Access
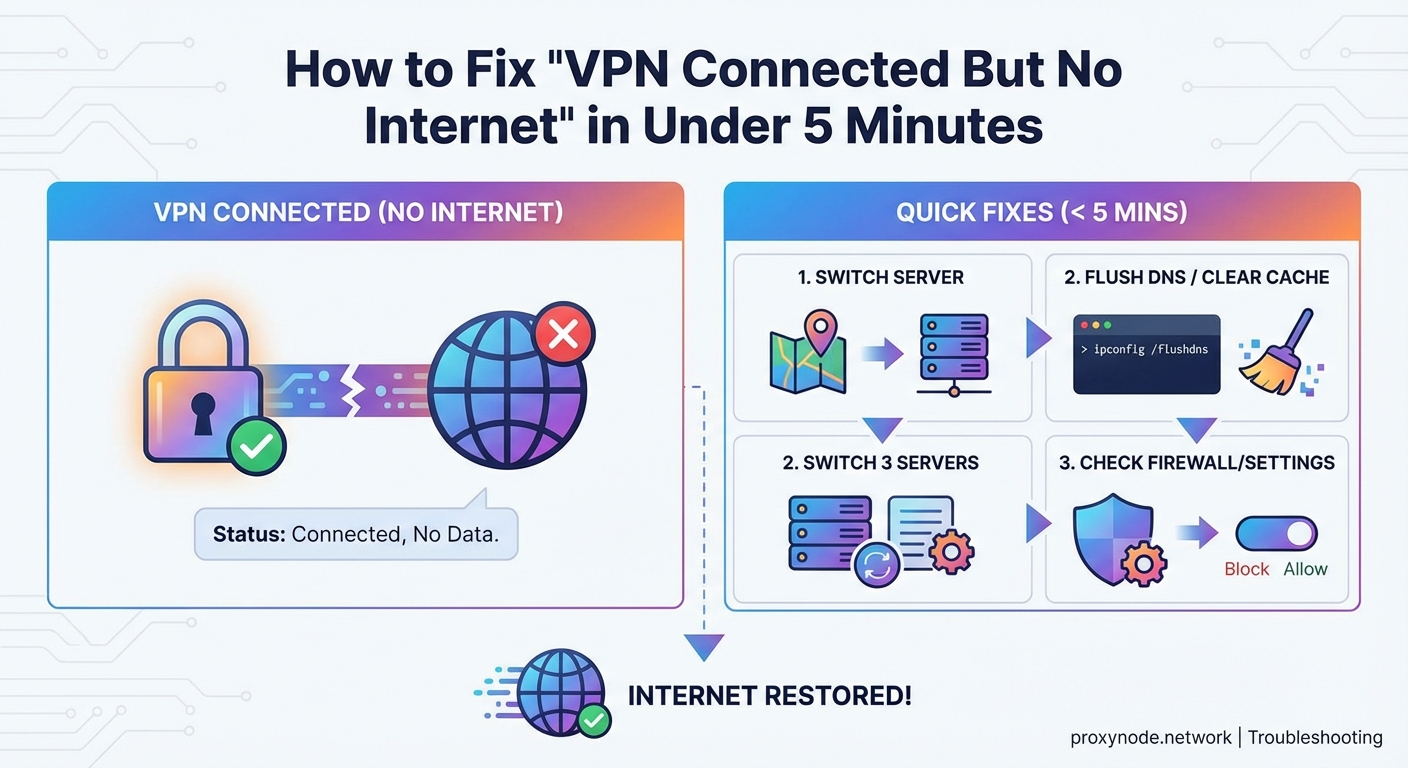
The paradox of a connected VPN with no internet happens because your device successfully establishes an encrypted tunnel to the VPN server, but data packets can’t flow through that tunnel properly. Think of it like building a perfect bridge but forgetting to open the gates on either end.
Several technical conflicts create this situation. Your computer might be sending requests through the VPN tunnel, but those requests get lost because DNS servers aren’t responding. Or your firewall might block the VPN protocol while allowing the connection itself. Sometimes your internet routing table gets confused about which path to use for different types of traffic.
The connection status shows “Connected” because the authentication worked and the tunnel exists. But that doesn’t guarantee data can actually travel through it. Your VPN client talks to the server just fine, but your browser, email, and apps can’t reach the outside world.
Start With the Simplest Fix First
Before trying complex troubleshooting, disconnect and reconnect your VPN. This simple step clears temporary glitches that cause 30% of connection problems.
Close your VPN application completely. Don’t just disconnect. Actually quit the program. Wait 10 seconds. Open it again and connect to a different server location. Many VPN services experience temporary issues with specific servers, and switching to another location often solves the problem immediately.
Restart your computer if reconnecting doesn’t work. This clears your network stack, DNS cache, and routing tables all at once. After reboot, try your VPN again before moving to more advanced fixes.
Change Your DNS Server Settings
DNS problems cause the majority of VPN internet failures. Your device needs DNS servers to translate website names into IP addresses. When your VPN connects, it should automatically assign new DNS servers, but this process sometimes fails.
Manually setting DNS servers fixes this issue:
- Open your network settings or control panel
- Find your active network connection (WiFi or Ethernet)
- Locate the DNS server settings
- Enter 8.8.8.8 as your primary DNS
- Enter 8.8.4.4 as your secondary DNS
- Save the changes and reconnect your VPN
Google’s public DNS servers (8.8.8.8 and 8.8.4.4) work reliably with most VPNs. Cloudflare’s 1.1.1.1 offers another excellent alternative. These public DNS servers respond faster than many ISP defaults and rarely cause conflicts with VPN connections.
After changing DNS settings, test your connection by opening a website. If pages load, you’ve found your solution.
Disable IPv6 to Eliminate Protocol Conflicts

Most VPNs only route IPv4 traffic through their encrypted tunnels. If your device tries to use IPv6 for internet requests, those requests bypass the VPN entirely and often fail because your ISP’s IPv6 configuration conflicts with the VPN connection.
Turning off IPv6 forces all traffic through IPv4 and your VPN tunnel:
- Windows: Network settings > Change adapter options > Right-click your connection > Properties > Uncheck “Internet Protocol Version 6”
- Mac: System Preferences > Network > Advanced > TCP/IP > Configure IPv6 > Off
- Linux: Edit /etc/sysctl.conf and add net.ipv6.conf.all.disable_ipv6 = 1
This change doesn’t harm your internet functionality. IPv6 adoption remains incomplete, and virtually all websites still support IPv4. You won’t notice any difference except that your VPN will work properly.
Flush Your DNS Cache and Reset Network Settings
Your computer stores DNS information in a cache to speed up repeat visits to websites. Sometimes this cache contains outdated or corrupted entries that conflict with your VPN’s DNS servers.
Clearing the DNS cache takes different commands depending on your operating system:
- Windows: Open Command Prompt as administrator and type
ipconfig /flushdns - Mac: Open Terminal and type
sudo dscacheutil -flushcache; sudo killall -HUP mDNSResponder - Linux: The command varies by distribution, but
sudo systemd-resolve --flush-cachesworks on most modern systems
After flushing DNS, reset your network adapter. On Windows, run these commands in order:
netsh winsock resetnetsh int ip reset- Restart your computer
These commands clear all network configurations and force your system to rebuild them from scratch. This process eliminates corrupted settings that prevent internet access through your VPN.
Check Your Firewall and Antivirus Software
Security software protects your computer but sometimes blocks legitimate VPN traffic. Your firewall might allow the VPN connection itself while blocking the data that flows through it.
Temporarily disable your firewall to test if it’s causing the problem. If internet access returns when the firewall is off, you need to add an exception for your VPN application.
Most firewalls let you whitelist specific programs:
- Find your firewall settings (Windows Defender Firewall, Norton, McAfee, etc.)
- Look for application permissions or allowed programs
- Add your VPN client to the allowed list
- Enable both private and public network permissions
- Re-enable your firewall and test the connection
Antivirus programs with built-in firewalls need similar treatment. Check your antivirus settings for VPN or network protection features. Some security suites include “VPN blocking” options that you need to disable.
“Most VPN connection failures come from DNS misconfigurations or firewall interference. Before contacting support, change your DNS to 8.8.8.8, disable IPv6, and check your firewall settings. These three steps solve 80% of connection issues without any technical knowledge required.”
Understanding Common VPN Connection Mistakes
| Mistake | Why It Happens | How to Avoid It |
|---|---|---|
| Using ISP DNS servers | VPN doesn’t override default DNS | Manually set DNS to 8.8.8.8 or 1.1.1.1 |
| Running multiple VPN clients | Clients conflict over routing | Uninstall unused VPN software |
| Outdated VPN software | Old versions have compatibility bugs | Enable automatic updates |
| Wrong VPN protocol | Some protocols blocked by networks | Switch from UDP to TCP or vice versa |
| Split tunneling misconfigured | Traffic routed outside VPN tunnel | Disable split tunneling temporarily |
| IPv6 leaks | IPv6 traffic bypasses VPN | Disable IPv6 in network settings |
Try Different VPN Protocols and Ports
VPN services support multiple protocols like OpenVPN, WireGuard, IKEv2, and L2TP. Each protocol uses different ports and encryption methods. Your network might block certain protocols while allowing others.
Most VPN clients let you switch protocols in their settings menu. Try each available option:
- OpenVPN UDP: Fast but can fail on restrictive networks
- OpenVPN TCP: Slower but more reliable on difficult connections
- WireGuard: Modern and efficient but not universally supported
- IKEv2: Good for mobile devices with changing connections
TCP protocols work better than UDP when you’re on networks with strict filtering. TCP disguises VPN traffic as regular web traffic, which passes through most firewalls without issues.
Some VPN services also let you change port numbers. Port 443 (standard HTTPS) rarely gets blocked because blocking it would break normal web browsing. If your VPN offers port selection, choose 443.
Verify Your VPN Subscription and Server Status
Sometimes the problem isn’t on your end at all. Your VPN subscription might have expired, or the server you’re connecting to might be down for maintenance.
Log into your VPN provider’s website and check your account status. Verify that your subscription is active and hasn’t been suspended for any reason. Payment failures happen, and an expired subscription will connect you to the VPN but restrict actual internet access.
Check your VPN provider’s status page or social media for server outages. Most reputable services maintain status pages that show which servers are experiencing problems. If your chosen server is down, simply connect to a different location.
Try servers in multiple countries. Geographic proximity doesn’t always equal better performance. A server 5,000 miles away might work perfectly while your local server struggles with overload or technical issues.
Reinstall Your VPN Client as a Last Resort
If none of the previous steps work, your VPN client installation might be corrupted. Completely uninstalling and reinstalling the software often fixes stubborn connection problems.
Proper uninstallation matters:
- Close your VPN application completely
- Uninstall through your operating system’s proper uninstall process
- Restart your computer
- Download the latest version from your VPN provider’s official website
- Install the fresh copy
- Configure your settings again
Don’t just delete the application folder. Use the official uninstaller to remove all configuration files, drivers, and system modifications. Leftover files from incomplete uninstalls cause recurring problems.
After reinstalling, test the connection before changing any settings. The fresh installation might work perfectly with default configurations.
Advanced Troubleshooting for Persistent Problems
Some network environments actively block VPN traffic using deep packet inspection. Corporate networks, schools, and certain countries employ sophisticated filtering that detects and blocks VPN protocols.
If you’re on a restrictive network, try these advanced options:
- Enable obfuscation or stealth mode if your VPN offers it
- Use a mobile hotspot to bypass network restrictions
- Connect through a different network to isolate the problem
- Contact your VPN provider’s support for server recommendations
Split tunneling features let you route some traffic through the VPN while sending other traffic directly to the internet. Misconfigured split tunneling can cause partial connection failures. Disable split tunneling entirely to eliminate it as a variable.
Check your MTU (Maximum Transmission Unit) settings. Some networks require specific MTU values for VPN traffic. Your VPN provider’s support documentation should list recommended MTU settings for their service.
When to Contact VPN Support
You’ve tried everything and still can’t get internet access through your VPN. At this point, contact your provider’s support team with detailed information:
- Your operating system and version
- Your VPN client version
- Which troubleshooting steps you’ve already tried
- Error messages you’ve seen
- Whether the problem happens on all networks or just specific ones
Good VPN providers offer 24/7 support through live chat. They can check server-side issues, verify your account configuration, and provide custom solutions for your specific situation.
Before contacting support, test your regular internet connection without the VPN. If your base internet doesn’t work, the VPN isn’t the problem. Fix your regular connection first, then troubleshoot the VPN.
Getting Back Online and Staying Connected
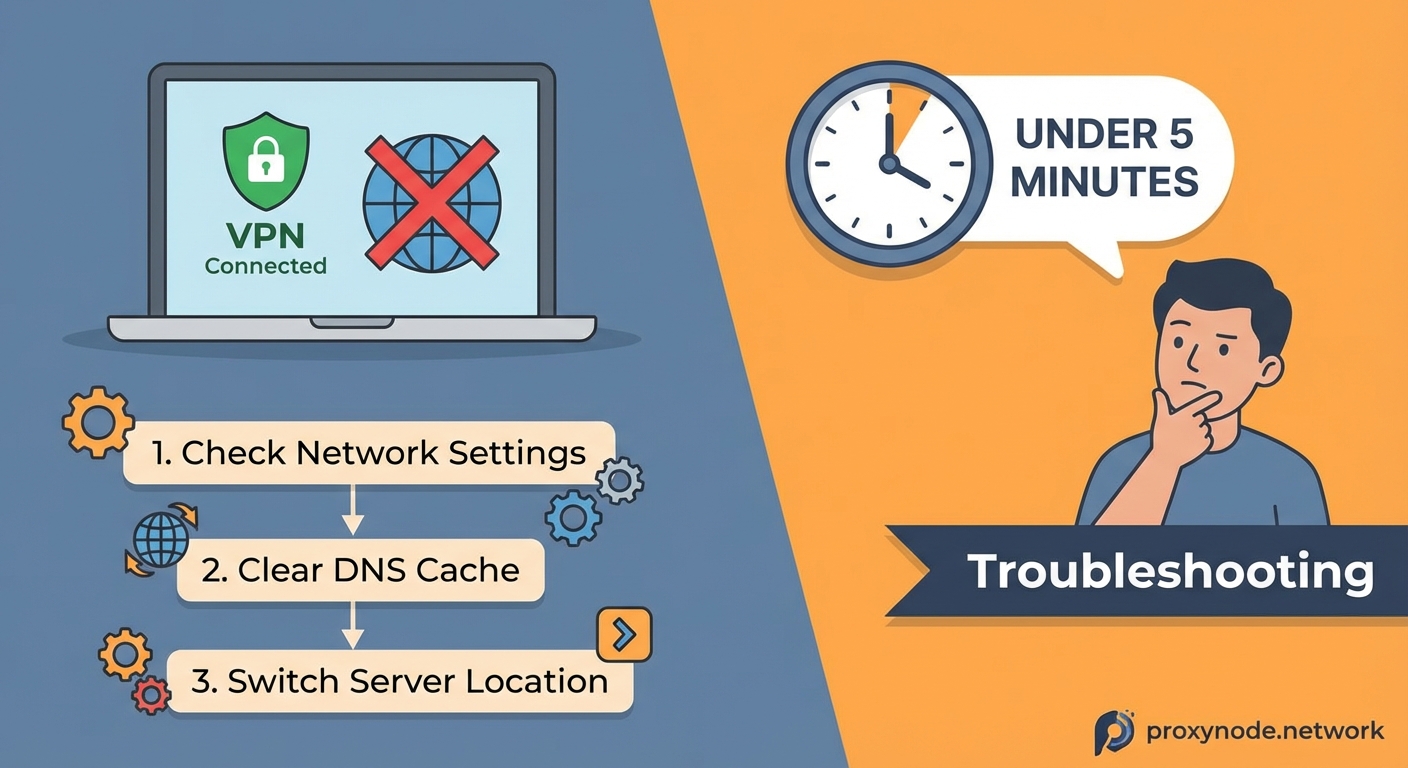
The frustration of a connected VPN with no internet access usually comes down to DNS conflicts, protocol issues, or firewall interference. Start with the simplest solutions like reconnecting and switching servers. Move to DNS changes and IPv6 disabling if basic steps don’t work. Most users find their solution within the first three troubleshooting steps.
Remember that VPN technology involves complex networking that interacts with your operating system, security software, and network infrastructure. Small conflicts in any of these areas can break internet access while maintaining the VPN connection itself. Systematic troubleshooting identifies and fixes these conflicts efficiently.
Save this guide for future reference. VPN connection problems happen to everyone eventually, and having a clear troubleshooting path saves time and frustration. Your internet access is just a few steps away from being restored.