You just connected to your VPN. The little icon says you’re protected. But are you really?
Many people assume their VPN is working simply because it connects. That’s a dangerous assumption. VPNs can leak your real IP address, expose your DNS queries, or fail to encrypt your traffic without showing any error messages. Your internet provider, websites, and trackers might still see exactly who you are and what you’re doing.
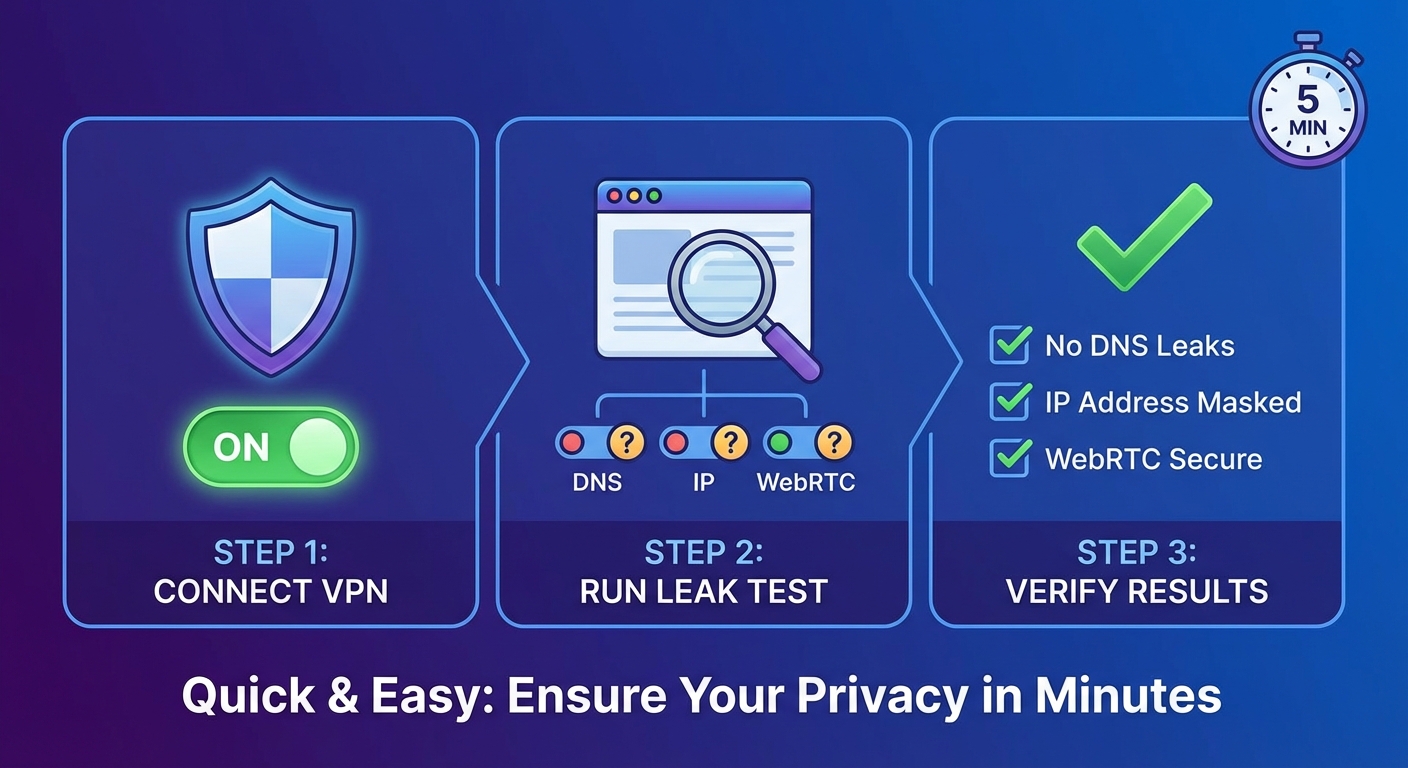
Testing your VPN requires checking three critical areas: IP address masking, DNS leak prevention, and WebRTC protection. Simple online tools can reveal these vulnerabilities in under five minutes. A working VPN should hide your real IP, route DNS queries through encrypted tunnels, and block WebRTC requests from exposing your location. Regular testing ensures your privacy stays intact.
Why VPNs fail without warning
VPNs are complex software that route your internet traffic through encrypted tunnels to remote servers. When everything works correctly, websites see the VPN server’s IP address instead of yours.
But things break. Software updates conflict with VPN protocols. Network configurations change. Kill switches fail to activate. Your VPN might reconnect using an unencrypted connection after a brief disconnection.
The scary part? Most failures happen silently. Your browser keeps loading pages. Videos keep streaming. Nothing feels different. Meanwhile, your real location and browsing habits are completely exposed.
That’s why testing matters. You need to verify protection, not just assume it.
Check your IP address first
The most basic VPN test answers one question: does the internet see your real IP address or your VPN’s IP address?
Before you connect to your VPN, write down your actual IP address. Open your browser and search “what is my IP” or visit any IP checking website. Note the number and your location.
Now connect to your VPN. Choose a server in a different country. Wait for the connection to complete.
Visit the same IP checking website again. The IP address should be completely different. The location should match your VPN server’s country, not your real location.
If you see your real IP address while connected to the VPN, something is seriously wrong. Your traffic is not being routed through the VPN tunnel.
Test for DNS leaks
IP address masking is just the first layer. DNS leaks are sneakier and more common.
Every time you type a website address, your device sends a DNS query to translate that name into an IP address. Normally, your internet provider handles these queries. They can see every website you visit, even if the connection is encrypted.
A working VPN should route DNS queries through its own encrypted servers. Your internet provider should see nothing but encrypted VPN traffic.
Here’s how DNS leaks happen. Your operating system might ignore VPN DNS settings and send queries directly to your provider’s DNS servers. This happens frequently on Windows and Android devices with certain network configurations.
Testing for DNS leaks takes seconds:
- Connect to your VPN and choose a server in another country
- Visit a DNS leak testing website
- Run the standard or extended test
- Check the results for your internet provider’s DNS servers
The results should only show DNS servers belonging to your VPN provider or located in the VPN server’s country. If you see your home internet provider’s name or DNS servers in your actual location, you have a DNS leak.
Your VPN might hide your IP address perfectly while leaking every website you visit through DNS queries. Always test both.
WebRTC leaks expose your real IP

WebRTC is a browser technology that enables video calls, screen sharing, and peer connections without plugins. It’s built into Chrome, Firefox, Edge, and most modern browsers.
The problem? WebRTC can bypass your VPN entirely and expose your real IP address to websites. This happens because WebRTC uses STUN servers to establish direct connections between browsers, revealing local and public IP addresses in the process.
Even with a VPN connected, a website using WebRTC can discover your actual IP address. Many tracking scripts and advertising networks actively use this technique.
Testing for WebRTC leaks:
- Connect to your VPN
- Visit a WebRTC leak test website
- Check if your real IP address appears anywhere in the results
A properly configured VPN should either block WebRTC requests entirely or ensure they only reveal the VPN’s IP address. If you see your real IP address, your VPN is leaking through WebRTC.
Some VPNs include WebRTC leak protection in their settings. Others require you to disable WebRTC in your browser or install browser extensions that block WebRTC requests.
Compare test results across scenarios
| Test Type | What It Reveals | Leak Indicator | Fix |
|---|---|---|---|
| IP Address Check | Basic VPN connection | Your real IP appears | Reconnect VPN or change servers |
| DNS Leak Test | DNS query routing | Your ISP’s DNS servers appear | Enable VPN DNS settings or change DNS manually |
| WebRTC Leak Test | Browser peer connections | Your real IP in WebRTC results | Enable WebRTC blocking or use browser extensions |
| Torrent IP Check | P2P connection privacy | Your real IP in torrent swarm | Use VPN with P2P support and port forwarding |
Each test reveals different failure points. A VPN might pass the IP check but fail DNS and WebRTC tests. Run all three tests every time you connect, especially after software updates or network changes.
Test your VPN kill switch

Kill switches are emergency brakes for your internet connection. When your VPN drops unexpectedly, the kill switch blocks all traffic until the VPN reconnects.
Without a kill switch, your device automatically routes traffic through your regular internet connection the moment the VPN fails. You might not notice for minutes or hours. During that time, everything you do is exposed.
Testing a kill switch requires intentionally breaking your VPN connection:
- Connect to your VPN and verify it’s working with IP and DNS tests
- Start a continuous activity like streaming a video or loading a webpage
- Force disconnect the VPN (close the app, disable the network adapter, or block the VPN in your firewall)
- Watch what happens to your internet connection
A working kill switch should immediately block all internet traffic. The video should stop. Webpages should fail to load. You should see no internet activity until you reconnect the VPN or disable the kill switch.
If websites keep loading after you disconnect the VPN, your kill switch isn’t working. Your traffic is leaking through your regular connection.
Run tests on every device
VPN protection is device specific. Your VPN might work perfectly on your laptop but leak on your phone.
Mobile devices are particularly vulnerable. Android and iOS handle VPN connections differently than desktop operating systems. Mobile apps might bypass VPN tunnels for system updates, push notifications, or background data sync.
Test every device separately:
- Laptop or desktop computer
- Smartphone
- Tablet
- Smart TV or streaming device
- Gaming console
- Router (if running VPN at router level)
Each device needs the full battery of tests: IP check, DNS leak test, WebRTC test, and kill switch verification.
You might discover that your VPN works great on your computer but leaks DNS queries on your Android phone. Or that WebRTC leaks only happen in Chrome but not Firefox. Device specific testing reveals these gaps.
What to do when tests fail
Failed tests don’t always mean your VPN is broken. Sometimes the fix is simple.
For IP leaks, try these steps:
- Disconnect and reconnect to a different server
- Restart the VPN application
- Reboot your device
- Check for VPN software updates
- Verify your subscription is active
For DNS leaks:
- Enable DNS leak protection in your VPN settings
- Manually configure your device to use your VPN’s DNS servers
- Disable IPv6 on your device (many VPNs don’t support IPv6 properly)
- Check if your router is forcing DNS queries to specific servers
For WebRTC leaks:
- Enable WebRTC blocking in your VPN app if available
- Install a browser extension that disables WebRTC
- Use a browser with built in WebRTC controls
- Switch to a VPN that includes WebRTC protection
If none of these fixes work, contact your VPN provider’s support. Persistent leaks might indicate fundamental problems with the VPN service or incompatibilities with your network setup.
Test regularly, not just once
VPN protection isn’t permanent. Things change.
Software updates can break VPN configurations. Your VPN provider might change server infrastructure. Your internet provider might implement new traffic management techniques. Browser updates might introduce new tracking methods.
Make VPN testing part of your routine:
- Test immediately after installing or updating VPN software
- Test when switching to a new VPN server or location
- Test after major operating system updates
- Test monthly even if nothing seems different
- Test when you notice unusual internet behavior
Regular testing catches problems before they compromise your privacy. Five minutes of testing every month is far better than discovering months later that your VPN has been leaking your data the entire time.
Testing reveals the truth
VPN marketing promises complete privacy and security. Real world performance tells a different story.
Testing shows you exactly what your VPN does and doesn’t protect. It reveals the gap between what you think is happening and what’s actually happening with your internet traffic.
The tools are free. The tests are simple. The information is critical.
Don’t trust the little icon that says you’re connected. Trust the tests that prove your traffic is actually protected. Run them now, run them regularly, and fix any leaks you find. Your privacy depends on verification, not assumption.