
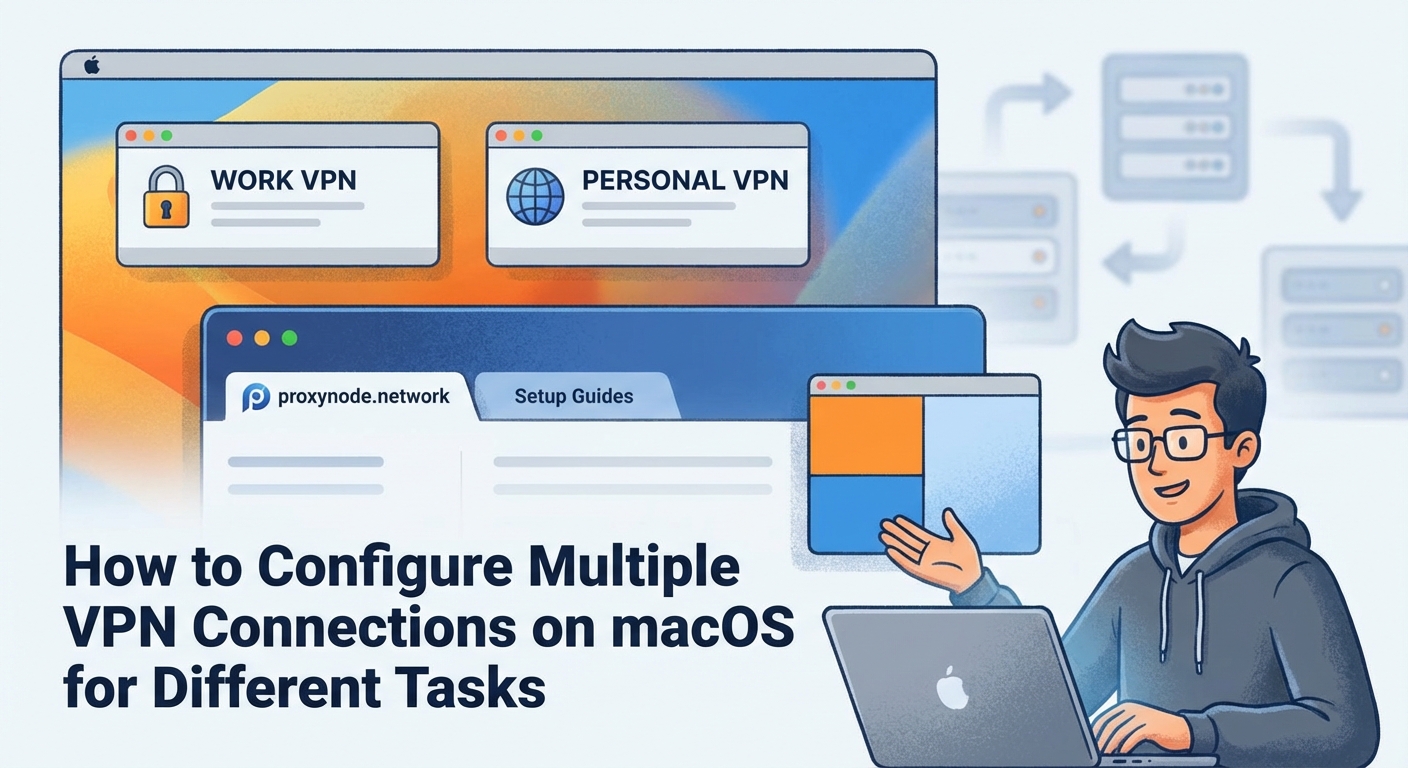
Running separate VPN tunnels for work, personal browsing, and client projects on the same Mac sounds complicated. It doesn’t have to be. macOS supports multiple VPN configurations out of the box, but making them work together for different tasks requires understanding how routing works and choosing the right setup method.
macOS can handle multiple VPN connections macOS configurations through built-in network settings, virtual machines, or application-specific routing. Success depends on avoiding route conflicts, understanding split tunneling, and choosing methods that match your workflow. Most users need either sequential switching between profiles or VM-based isolation rather than truly simultaneous connections on the same OS instance.
Why You Might Need Multiple VPN Connections
Different scenarios demand different VPN setups. A freelance developer might need access to three client networks throughout the day. An IT consultant could require one VPN for corporate resources and another for personal traffic. Remote workers often separate work and home browsing for security or compliance reasons.
macOS lets you create unlimited VPN profiles in System Settings. The challenge isn’t creating them. The challenge is running them simultaneously or switching between them efficiently without breaking your workflow.
Most VPN protocols weren’t designed to coexist. When two VPNs try to route all traffic through their respective tunnels, conflicts arise. Understanding these limitations helps you pick the right approach.
How macOS Handles VPN Routing
When you connect to a VPN, macOS modifies your routing table. This table tells your system where to send network packets. A full-tunnel VPN adds a default route that captures all traffic. A split-tunnel VPN only routes specific subnets through the tunnel.
Two full-tunnel VPNs cannot coexist on the same network interface. The second connection will either fail or override the first. Split-tunnel VPNs can sometimes work together if their routes don’t overlap.
Check your current routes by opening Terminal and typing netstat -nr. You’ll see a list of network destinations and their gateways. The default route (0.0.0.0 or default) shows where unmatched traffic goes.
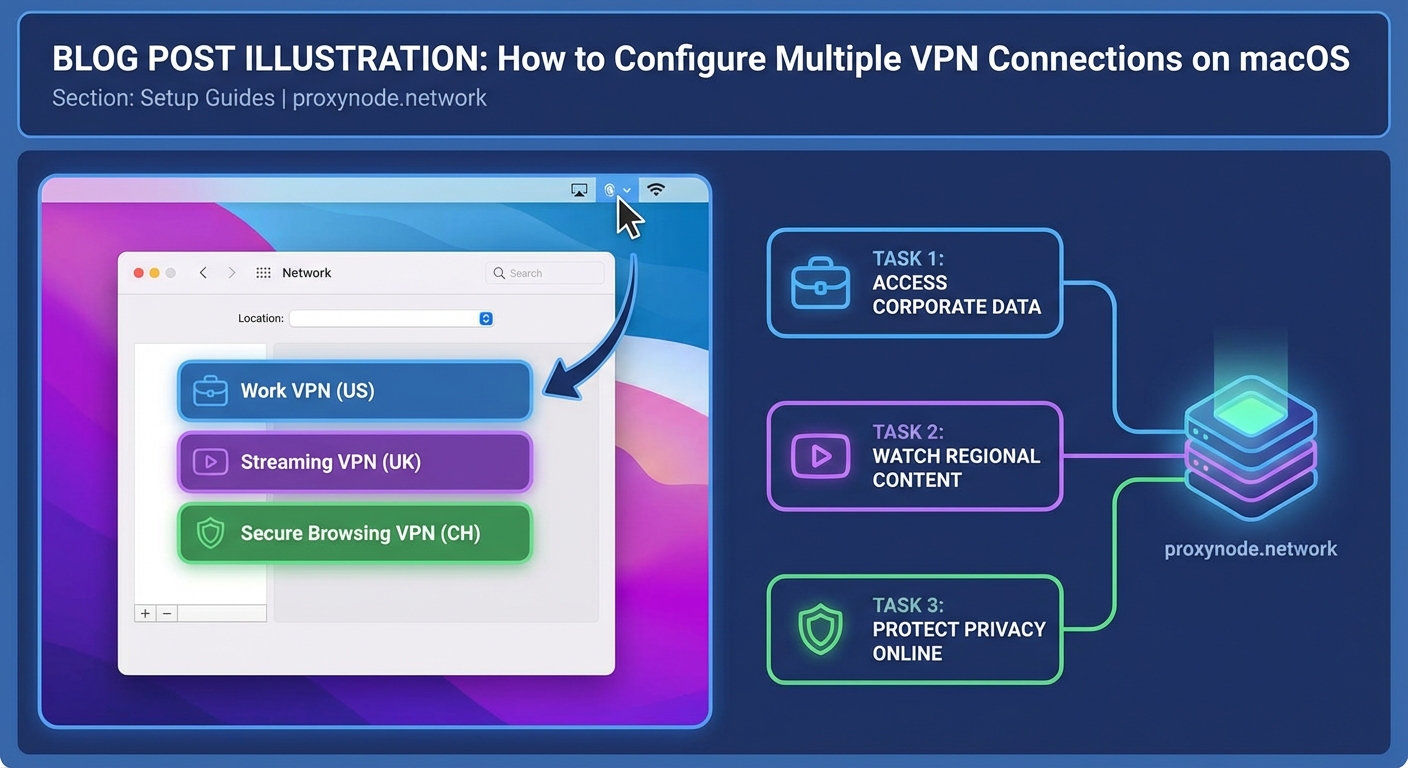
Creating Multiple VPN Profiles in System Settings
Setting up different VPN configurations is straightforward. Here’s the process:
- Open System Settings and click Network.
- Click the three-dot menu or plus icon to add a new service.
- Select VPN from the interface dropdown.
- Choose your VPN type (IKEv2, L2TP, Cisco IPSec, or custom).
- Name the connection something descriptive like “Client A Network” or “Personal VPN.”
- Enter the server address, authentication details, and any required certificates.
- Click Create, then repeat for each VPN you need.
Each profile appears as a separate service in your Network preferences. You can connect to them individually from the menu bar VPN icon or the Network settings panel.
This method works great for switching between VPNs throughout the day. It doesn’t support simultaneous connections to multiple VPNs from the same macOS instance in most cases.
Using Split Tunneling to Avoid Conflicts
Split tunneling routes only specific traffic through the VPN. Everything else uses your regular internet connection. This technique can allow multiple VPNs to coexist if configured correctly.
Not all VPN clients support split tunneling. Enterprise VPNs often force full-tunnel mode for security. Commercial VPN apps sometimes offer split tunneling as a premium feature.
To configure split tunneling manually:
- Connect to your VPN.
- Open Terminal and check routes with
netstat -nr. - Identify which subnets need to go through which VPN.
- Use
route addcommands to manually adjust routing (requires admin privileges). - Test connectivity to ensure traffic flows correctly.
Manual routing gets complex fast. One mistake can break your connection or leak traffic outside the VPN. Most users benefit from VPN clients that handle split tunneling automatically.
If you’re managing client networks with overlapping IP ranges, split tunneling won’t help. You need complete network isolation, which means virtual machines or containers.
Running VPNs in Virtual Machines
Virtual machines provide true isolation. Each VM has its own network stack, routing table, and VPN connection. This approach eliminates conflicts entirely.
Popular virtualization tools for macOS include:
- Parallels Desktop
- VMware Fusion
- UTM (free and open source)
- VirtualBox (free but less polished on macOS)
Set up a lightweight Linux VM for each VPN you need to run simultaneously. Ubuntu or Debian work well. Configure the VPN inside the VM, then access resources through remote desktop or SSH.
This method uses more system resources. Each VM needs RAM and CPU cycles. A modern Mac with 16GB RAM can comfortably run two or three VMs alongside macOS work.
The benefit is complete separation. Your main macOS environment stays clean. Each VM connects to its own VPN without interfering with others. You can run different applications in each environment.
Application-Specific VPN Routing
Some scenarios need specific apps to use specific VPNs. A browser might need the work VPN while Slack uses the personal connection. macOS doesn’t offer this natively, but third-party tools fill the gap.
Proxifier is a popular option. It intercepts application traffic and routes it through designated proxies or VPNs. You create rules like “send Firefox through VPN A” and “send Terminal through VPN B.”
Another approach uses network namespaces on Linux VMs. Run the application inside a VM or container configured with the appropriate VPN. Access it through X11 forwarding or remote desktop.
Browser extensions offer limited application-specific routing. They only affect browser traffic and rely on proxy servers rather than true VPNs. This works for web browsing but not system-level applications.
Comparing Multiple VPN Strategies
Different methods suit different needs. Here’s a comparison:
| Method | Simultaneous Connections | Complexity | Resource Usage | Best For |
|---|---|---|---|---|
| Sequential switching | No | Low | Minimal | Accessing different networks at different times |
| Split tunneling | Sometimes | Medium | Low | Non-overlapping network ranges |
| Virtual machines | Yes | High | High | Complete isolation between environments |
| Application routing | Yes | Medium | Medium | Specific apps need specific VPNs |
| VPN chaining | Yes | High | Medium | Enhanced privacy through multiple hops |
Setting Up VPN Chaining
VPN chaining routes one VPN connection through another. Your traffic goes from your Mac to VPN A, then from VPN A to VPN B, then to the internet. This adds privacy layers but increases latency.
The simplest chaining method uses a VM. Connect your Mac to VPN A. Run a VM that connects to VPN B. Traffic from the VM passes through both tunnels.
Some commercial VPN providers offer multi-hop or double VPN features. These handle the complexity automatically. Performance suffers because your data travels through multiple servers.
Chaining makes sense for high-security scenarios. For everyday work across client networks, it’s overkill and slows everything down.
Common Mistakes and How to Avoid Them
Many users encounter the same problems when setting up multiple VPN connections macOS configurations:
Overlapping routes: Two VPNs trying to route the same subnet causes conflicts. Check routing tables before connecting. Use split tunneling to separate traffic.
DNS leaks: Your DNS queries might bypass the VPN and reveal browsing activity. Configure DNS servers manually in VPN settings. Test for leaks using online tools.
Forgotten connections: Leaving a VPN connected when you don’t need it wastes bandwidth and slows performance. Disconnect when finished or use automation tools to manage connections.
Certificate issues: Enterprise VPNs often require specific certificates. Install them in the System keychain, not just your user keychain. Restart after installation.
MTU problems: VPN encapsulation reduces the maximum transmission unit. If connections hang or websites load partially, lower the MTU value in advanced network settings.
Automating VPN Switching
Manually connecting and disconnecting VPNs gets tedious. Automation saves time and reduces errors.
macOS Shortcuts can trigger VPN connections. Create a shortcut that connects to your work VPN, opens specific applications, and sets do not disturb mode. Trigger it from the menu bar or with a keyboard shortcut.
Third-party tools like Tunnelblick (for OpenVPN) offer more automation options. You can set up automatic connections based on network location, time of day, or running applications.
Command-line tools provide the most flexibility. The networksetup command controls VPN connections from Terminal. Script it with bash or Python to create custom workflows.
For example, this command connects to a VPN named “Work”:
networksetup -connectpppoeservice "Work"
Combine it with cron jobs or launchd agents for time-based automation.
Security Considerations for Multiple VPNs
Running multiple VPNs introduces security risks if not handled properly. Each connection is a potential point of failure.
Keep VPN clients updated. Outdated software contains vulnerabilities that attackers can exploit. Enable automatic updates when available.
Use strong authentication. Passwords alone aren’t enough for sensitive networks. Enable two-factor authentication or certificate-based authentication.
Avoid free VPN services for work traffic. They often log activity, inject ads, or sell bandwidth. Stick with reputable providers or self-hosted solutions.
Monitor active connections regularly. Unexpected VPN activity could indicate compromise. Check System Settings and Activity Monitor for suspicious processes.
Testing Your Setup
After configuring multiple VPN connections macOS profiles, verify everything works correctly.
Test connectivity to resources behind each VPN. Can you access the file server? Does the internal website load? Try pinging specific IP addresses.
Check your public IP address while connected to each VPN. Use a service like ifconfig.me or ipinfo.io. The IP should match your VPN provider’s address, not your ISP.
Verify DNS resolution. Use nslookup or dig to query domain names. Responses should come from the VPN’s DNS servers, not your ISP or public resolvers.
Test for leaks. WebRTC can expose your real IP even when connected to a VPN. Browser extensions like Disable WebRTC prevent this.
Run speed tests on each connection. VPNs reduce bandwidth, but excessive slowness indicates configuration problems or server issues.
Troubleshooting Connection Problems
When VPNs fail to connect or work incorrectly, systematic troubleshooting helps.
Start with the simplest explanation. Is your internet connection working? Can you browse websites without the VPN? Test basic connectivity first.
Check VPN server status. Many providers offer status pages showing outages or maintenance. Try connecting to a different server if available.
Review system logs. Open Console app and filter for VPN-related messages. Look for authentication failures, timeout errors, or certificate problems.
Disable firewall temporarily. macOS firewall or third-party security software might block VPN protocols. If the connection works with the firewall off, add exceptions for your VPN client.
Reset network settings as a last resort. This clears all custom configurations, so document your settings first. Go to System Settings, Network, and remove then recreate your VPN profiles.
Real-World Workflow Examples
Here’s how different professionals use multiple VPN connections macOS setups:
Freelance developer: Creates separate VPN profiles for each client. Connects to Client A’s VPN in the morning, works on their codebase, disconnects at lunch. Connects to Client B’s VPN in the afternoon. Uses no VPN for personal browsing in the evening.
IT consultant: Runs a Windows VM with the corporate VPN for accessing client management tools. Keeps macOS on a personal VPN for general browsing. Isolates environments completely to prevent data leaks.
Remote worker: Uses split tunneling to route work applications through the company VPN while streaming music and personal browsing goes direct. Saves bandwidth and improves performance for non-work tasks.
Privacy enthusiast: Chains two VPNs using a VM. Connects macOS to VPN provider A. Runs a Linux VM connected to VPN provider B. Routes sensitive traffic through the VM for maximum privacy.
Choosing the Right Approach for Your Needs
Your ideal setup depends on specific requirements. Ask yourself these questions:
Do you need truly simultaneous connections? If yes, virtual machines or application-specific routing are your options. If no, sequential switching with multiple profiles works fine.
Are the networks you’re accessing compatible? Overlapping IP ranges require complete isolation through VMs. Non-overlapping ranges can use split tunneling.
How much complexity can you manage? Simple profile switching requires minimal technical knowledge. VMs and manual routing need more expertise.
What’s your performance tolerance? Each VPN hop adds latency. Chained VPNs or VMs consume more resources than single connections.
Match the method to your actual needs. Don’t overcomplicate if simple switching does the job.
Making It Work for You
Setting up multiple VPN connections macOS configurations takes planning, but the payoff is worth it. You gain flexibility to access different networks, separate contexts, and maintain security across environments.
Start simple. Create the VPN profiles you need and practice switching between them. Once comfortable, add automation or try split tunneling. Graduate to VMs only if you truly need simultaneous connections.
Test thoroughly before relying on your setup for important work. Verify connectivity, check for leaks, and document your configuration. Future you will appreciate clear notes when something breaks.
The right approach depends on your specific situation. A consultant juggling five client networks needs different tools than a remote worker accessing one corporate VPN. Build what serves your workflow, not what sounds impressive.